


On the MGB- I started by removing the SU carbs from the intake manifold. First step was to photograph the throttle and choke linkages so I had them for reference when I go back to install them. Here are a few of the dozens of photos:


 |
| Cotter pin |
So first I removed the four nuts (two behind each carb) that hold the carbs to the manifold. The bottom ones are difficult to see, but it's not too bad once you can put your eyes and some light on them. Next, I removed the various fuel and vent lines. The last step for removal was to disconnect the two cables by removing their respective cotter pins. They came off without problem. A couple of the gaskets between the thick spacers between the carbs and the intake manifold (maybe the spacers are heat sinks as well since the exhaust manifold comes out between the intake manifold) tore when I pulled off the carbs. Whoever was there last used some red sealant on the gaskets. I'll need to research if that sealant is necessary- I would doubt it. It's strange to have three exhaust ports for a 4 cylinder engine!

Now that the carbs were off, I called it a day and brought them inside to get them warm for the next days work.
The next day started by cleaning the outside of the carbs so they were easier to work on. Just some carb cleaner and a couple of small brushes, and most of the grime was gone.


Next up was to remove the float chamber cover on the bottom of the carb. I assumed that my fuel problem would be in this area of one or both of these carbs. Once the cover was off, I could manipulate the float while I blew into the fuel line connection. In theory, as the float rises, it pushes on the float needle and stops the flow of fuel This carb operated fine and closed off my air as I pushed up on the float and the float needle sealed the passage as designed. So, I pulled the float so I could submerge it in the carb cleaner can and see if it leaked. No bubbles and no liquid inside the float. I reassembled everything so as not to lose any of the small parts and moved onto the front carb.
 |
| Float chamber cover, i.e. bottom of carb |
 |
| Inside of the float cover- Yuck! old crystallized fuel I had to clean out |
 |
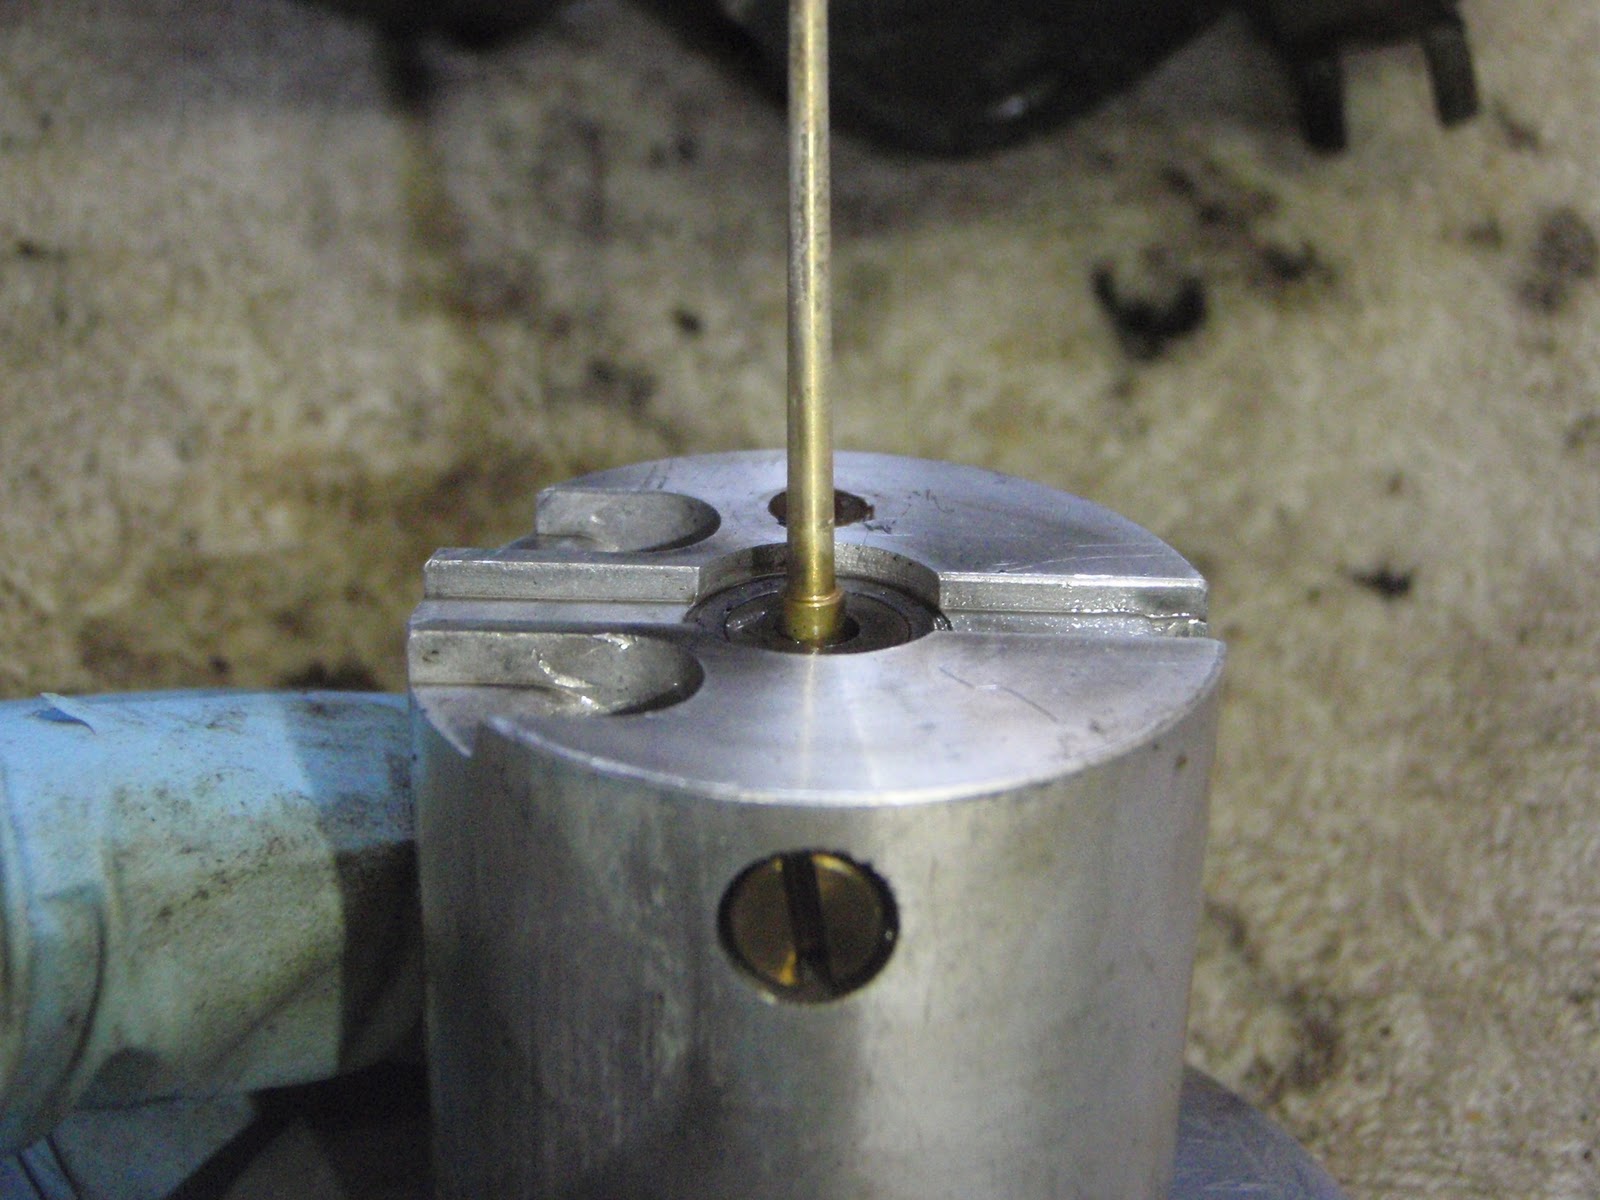
| Float chamber- the float is the brown "c" shaped thing |

 |
| Ready to go back together. |
Next, I started on the front carb. Basically, the same process as the rear/right carb. But, when I got to the float test with air, pushing up on the float the did not stop the flow of air. There was my fuel problem!! So, I took out the float and needle so I could clean the needle and seat. Inside the seat was a tiny piece of black stuff. It looked like a piece of rubber, but who knows? I also tested the float for leaks- no problem. I put it the needle and float back together and tried the air test again and it worked correctly and stopped the air. Cool! So, I put everything back together and called it a day.
 |
| Left/front carb |
 |
| Float chamber |
 |
| This side was even worse with fuel gunk! It's all cleaned up now. |
So, it was a successful day! I will still need rebuild kits for these since most of the gaskets and o-rings are no good. I'll replace the needles and floats as well since they looked pretty cruddy.
Next up- maybe I can get this thing running once I rebuild the carbs! Wishful thinking!
No comments:
Post a Comment
Note: Only a member of this blog may post a comment.