So, the wiring harness arrived from the UK, and I began the install. First off, I needed a layout area for the harness so I could organize a method. I set up a table in the garage, and began by installing the new rubber grommet the seals the hole in the firewall that the harness runs through. By looking at the grommet and then the GIANT harness- I had no idea how it would actually fit through the tiny 3/4" hole. I had the company install a set of relays for the headlights (which are big plastic boxes) so I knew I had to start feeding from the other end.
 |
| my office |
 |
| headlight relays |
 |
| this alone took about 30 minutes |
 |
| almost there! |
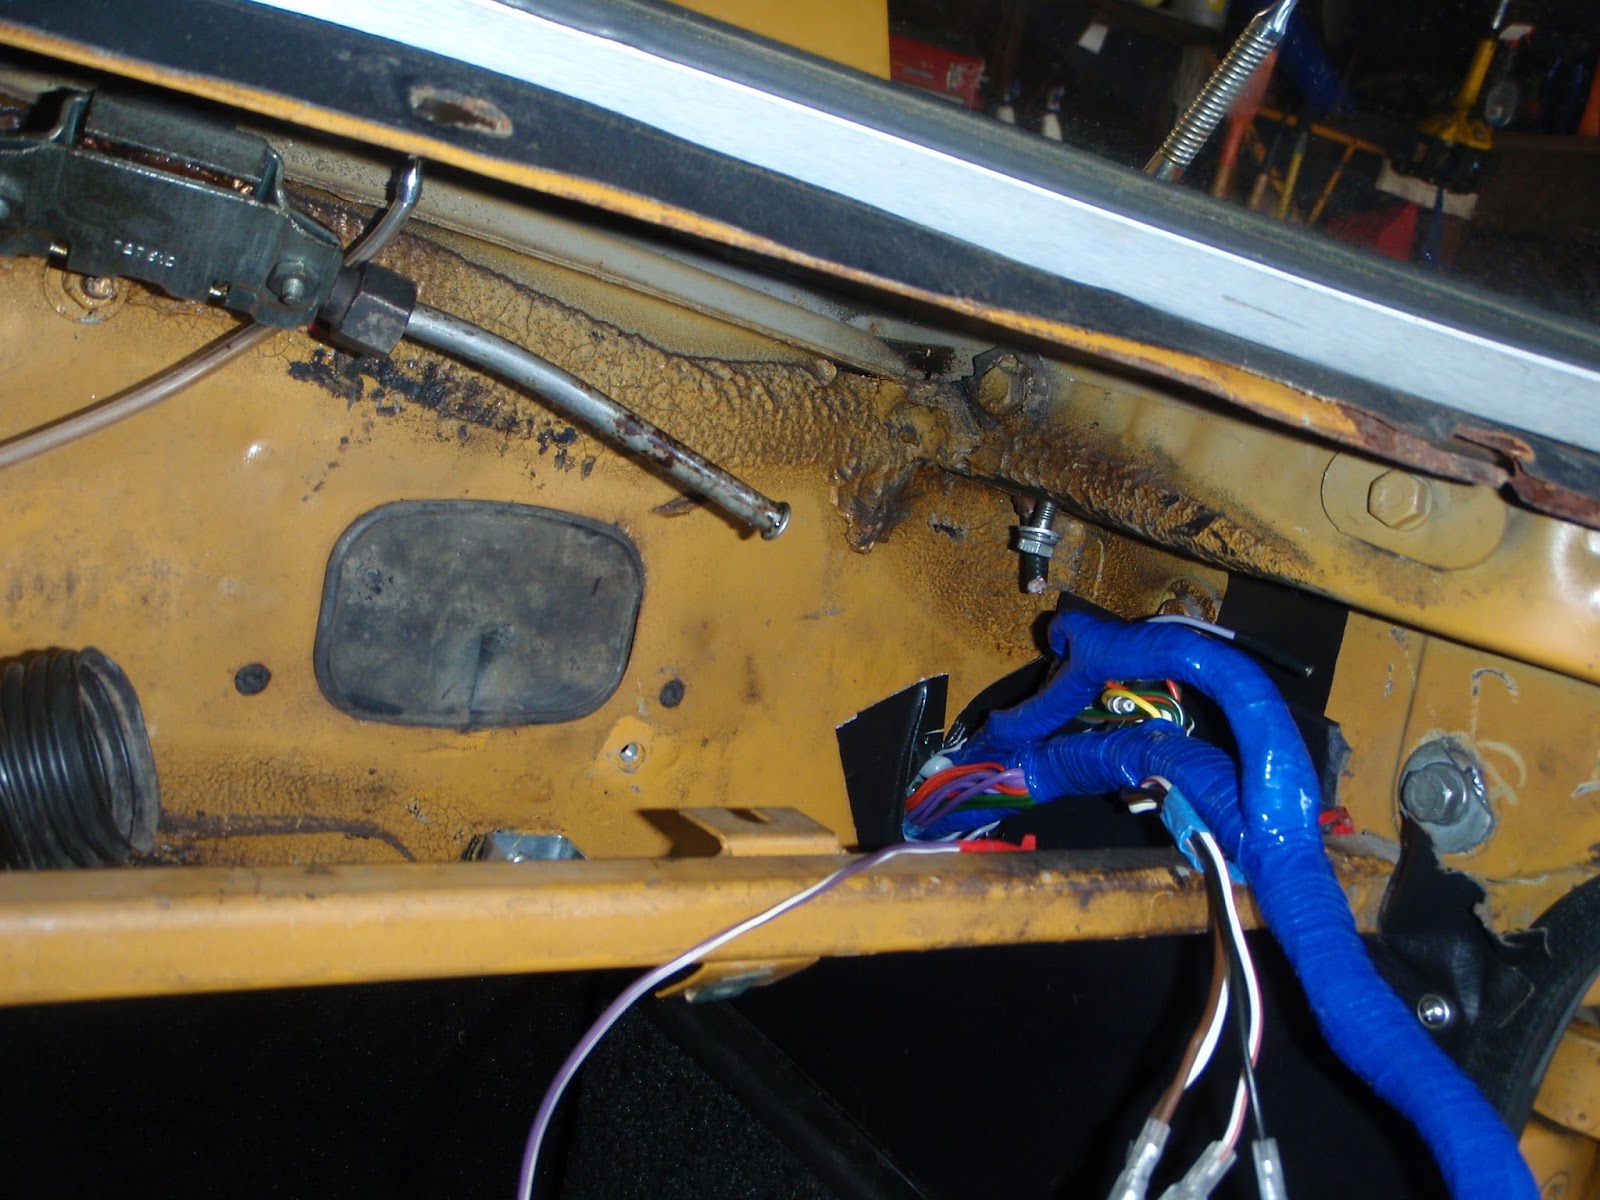
Once the grommet was on, it was time to cut the old harness right at the firewall. That way I could work from both sides and leave the old connections attached and simply remove an old one and attach a new one matching the wire colors. It really wasn't too complicated, it just took a long time and I really had to focus (muttering to myself the entire time when I do jobs like this.....). Any connection remaining on the car received a scrub with some emery paper (fine sandpaper) and a coat of dielectric grease (combats corrosion). I installed the engine side of the harness first and worked from the firewall forward to the headlights. I won't go into details of the actual connections because it would be very boring and long-winded. Lets just leave it with "after dozens of cleaned connections, it was done!!" I used a good wiring diagram to confirm that what was originally there was correct before replacing it. I only found a couple of errors )headlight switch, brake warning switch) and they were minor.
 |
| feeding the harness through the firewall. I put the tape there to protect the new wires |
 |
| ....keep feeding..... |
 |
| new harness coming through into the engine bay |
 |
| new harness on the seat, and the old still attached to the dash supports |
 |
| It actually fits through the grommet! |
 |
| engine side in progress |
 |
| more engine stuff |
 |
| cleaning the old connections- this one is for the right parking light |
So, once the engine side was all installed, I started connecting the dash side of the harness. I just hung the dash off of the steering wheel and worked my way across the dash over to the end of it above the drivers left knee where all of the steering wheel controls (turn signal, horn, windshield washer, etc) are connected into the harness.
 |
| new harness behind passenger side dash. I installed the windshield wiper motor at the same time. You can see the headlight relays I had installed dangling into the footwell- I screwed them into the firewall later. |
 |
| working my way to the end. I also had to install the ventilation tubes since they were missing from car because someone installed a/c |
 |
| test fit of the dash and center console. It was at this time that all connections were made, so I hooked up the battery and started to check components, and then fired it up. Every thing worked!... except the interior lights. I worked through the diagram and found my error. At the same time, I decided for just a goof to install footwell lights. You can see one through the glovebox in the above photo. |
 |
| Finished!! Just a quick vac and another check of the brake lights, and she was out one road! |
So, it was time for some driving- and that what I did. See, I don't just work on this thing....
Next up, was a new convertible top. The car didn't have one at all when I bought it, but at least the frame was there. I had cleaned and painted the frame over the winter, so all I had to do was bolt on the frame to the body. My family was in town, so my brother and dad helped with this one. Thanks folks!
 |
| the frame going on- we protected the top of the windshield with a towel to keep the scratches at bay | | | | | |
|
|
|
So, once we had a nice sunny day (aren't they all during a Maine summer?), we installed the new vinyl. I ordered the top from the UK (Prestige Auto). It took about a week to arrive, which was surprising. On an MGB, the only place the vinyl is permanently attached to the frame is at the head rail above the windshield. The rest of it attaches with snaps. We just attached the rear snaps, lined up the front of the vinyl with the frame, and glued it on. No real problems, just some waiting between steps for glue to dry. Photos show the process better than I can describe the process- so here goes:
 |
| laying it out- the top is shipped with paper to prtect the back plastic window |
 |
| more progress- you can see the head rail attached to the top of the windshield |
 |
| using chalk to layout the head rail for glue location |
 |
| clamping the top to the rail while it dries |
 |
| the other side getting glue |
 |
| final alignment and fittment |
 |
| Finished! The top needed to stay up for a couple of weeks so it takes shape |
 |
| another finished photo |
 |
| not too bad- and it leaks just like a real MGB top..... |
Finally, a few miscellaneous things
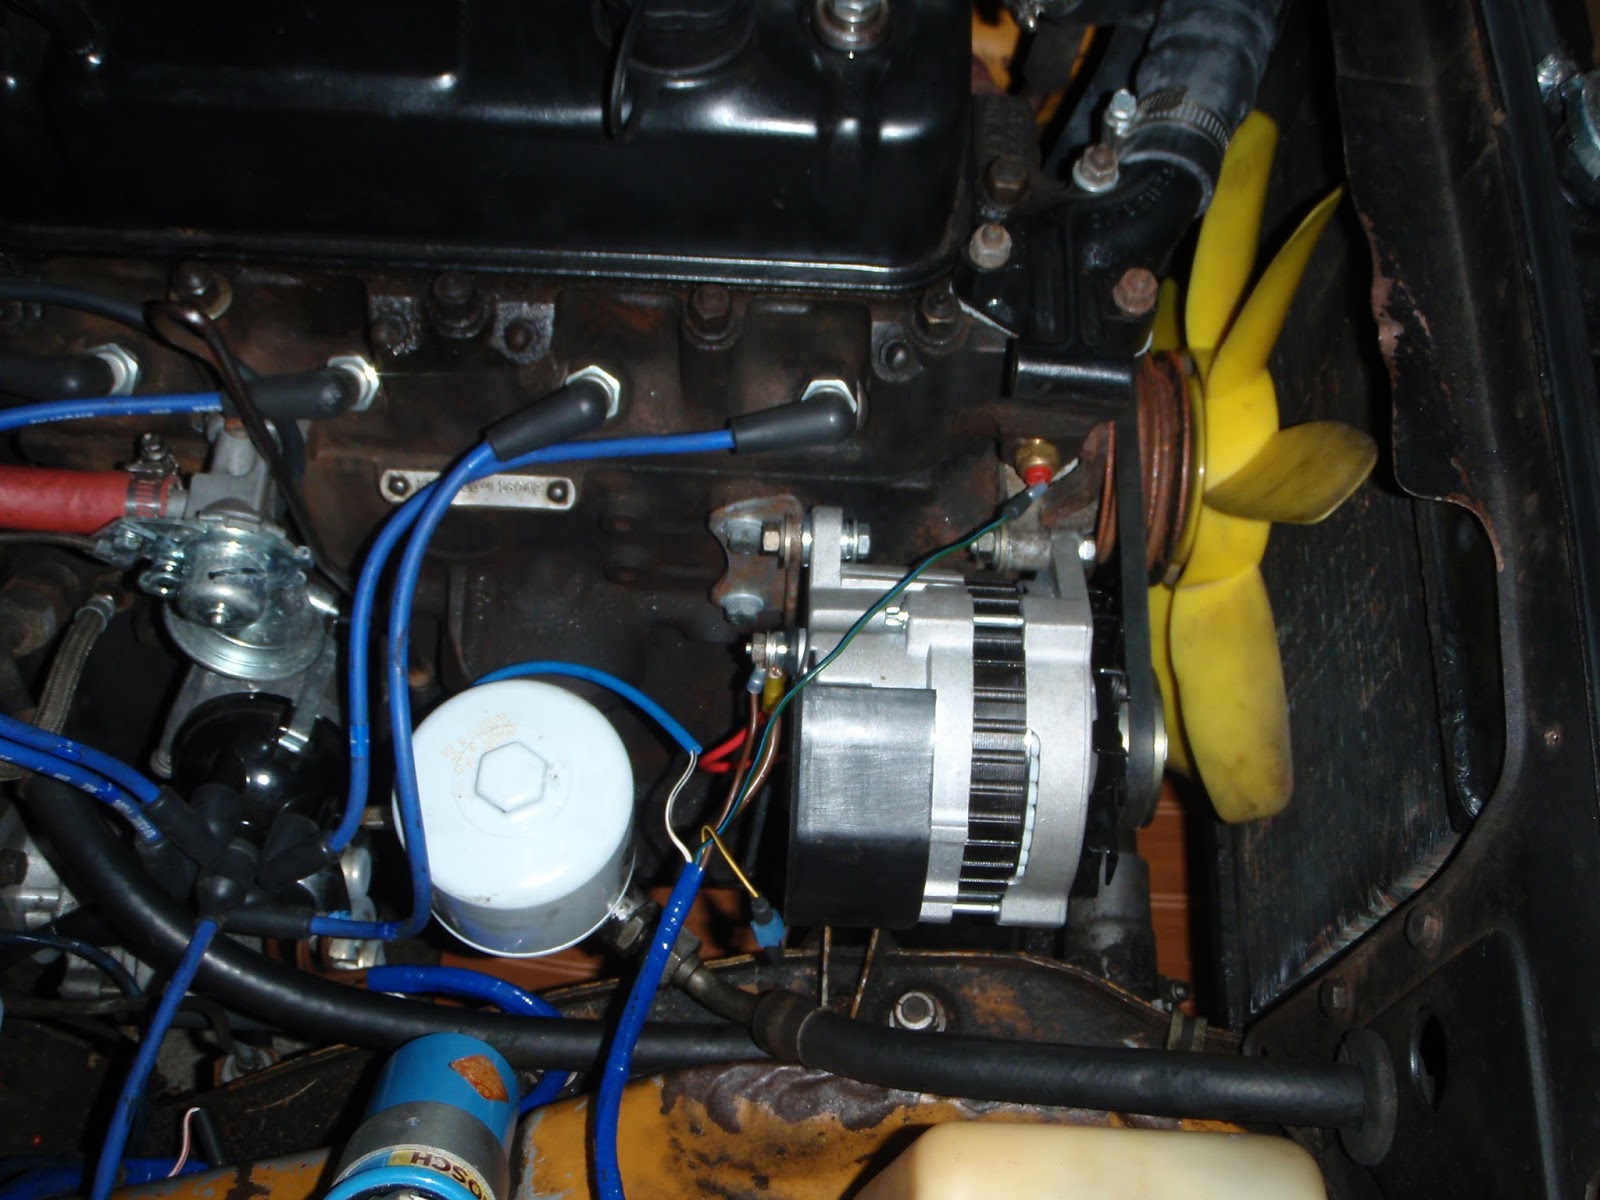
I replaced the alternator. It had been slowly dying for a couple months. The car has an ignition light on the dash that in only supposed to light when the ignition is on and the car is not running. Once the car is started and revved above 1200 RPM, it is designed to go out. My ignition light had started to act up and flash when the RPMs dropped too low, or I had too many electrical draws running (brake lights, turn signal, headlights all at the same time for example). So, the alternator finally gave up while driving to work. I ordered up a new upgrade alternator with more output and reliability (No more Lucas Electrics alternator!) and installed it. No real drama there, other than needing to buy some marine grade connectors to try and help it last as long as possible. Here are a couple photos:
 |
| the old tired alternator |
 |
| the new unit installed. |
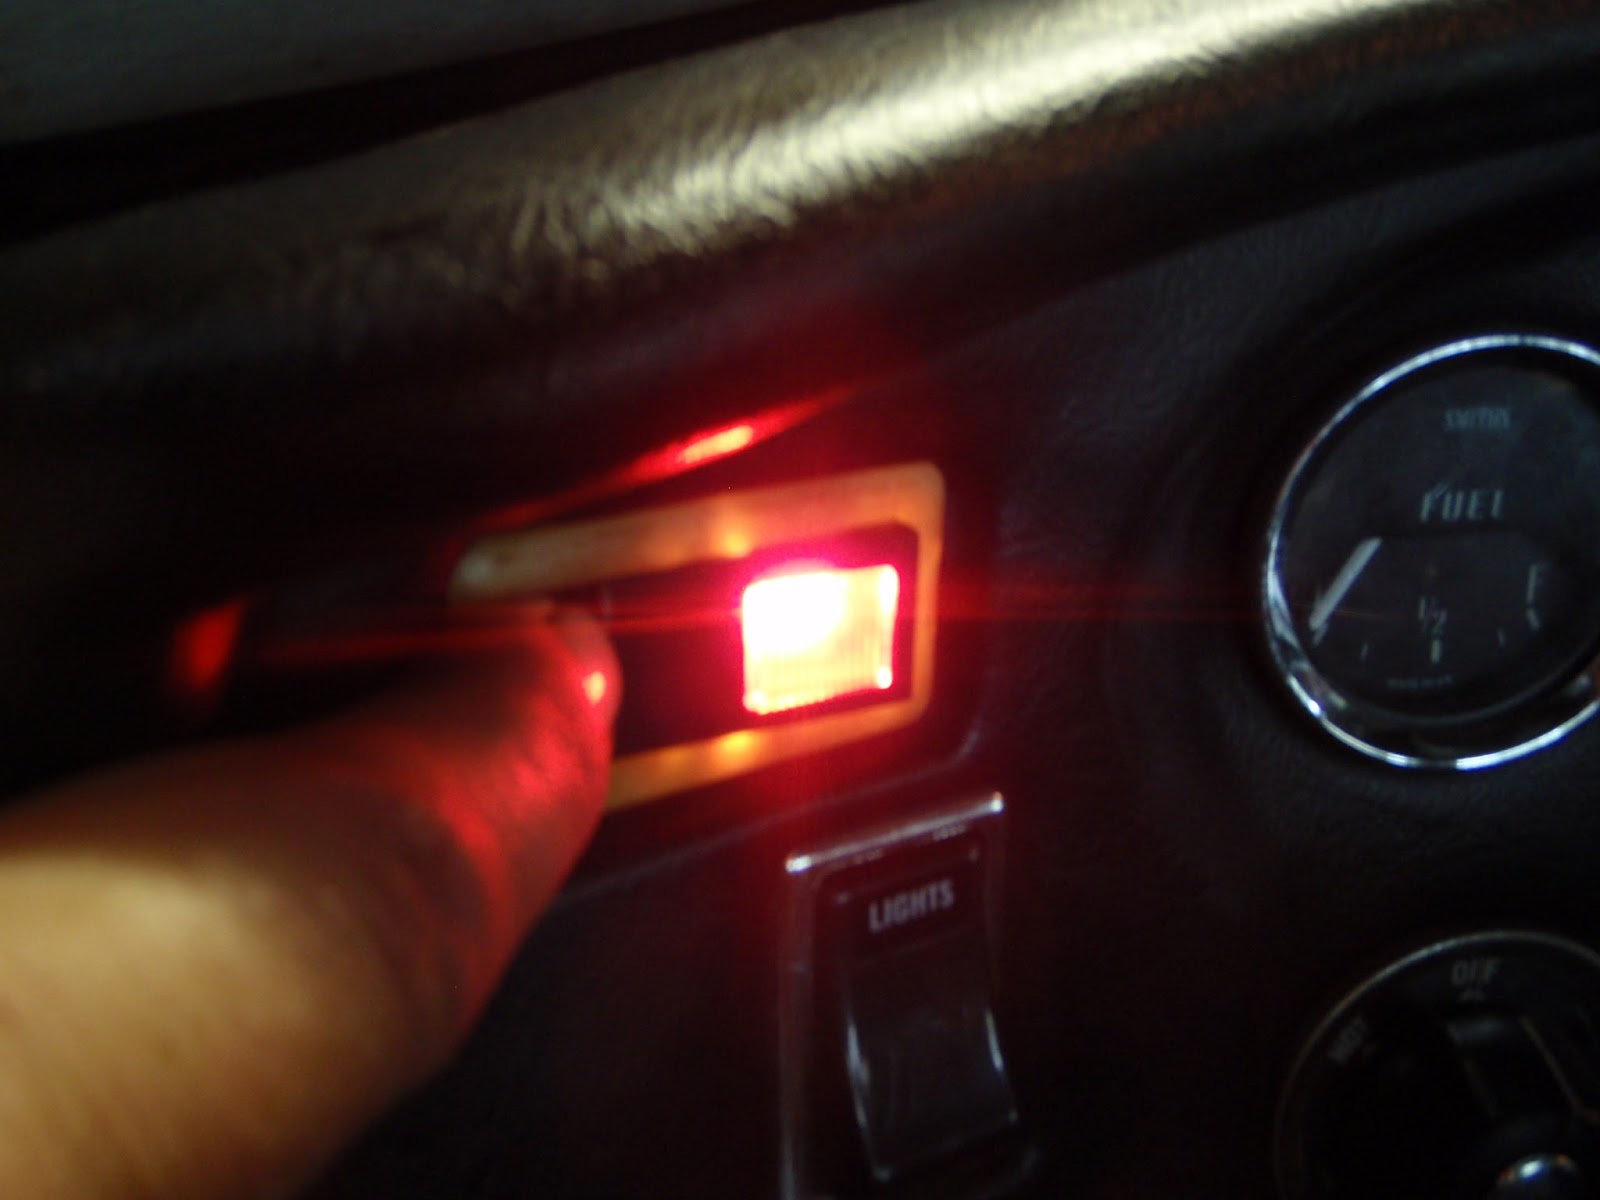
The last thing was to repair the dash mounted brake test/warning lamp. Just some more emery paper and dielectric grease and all was well.
 |
| brake test switch |
 |
| It actually works!! |
So, that's it for now. I'm starting to think about winter project, but I bet the car will make that decision for me....


Nice top!
ReplyDeleteAlso- very good idea cutting the harness at the firewall and leaving the old connections attached and replacing connections one-by-one.
That's a great idea!..I am so impressed… Thank you for your sharing Hot Rod Swaps
ReplyDeleteI read your blog. Very good and useful information about Wiring Harness Exporters .Thanks for sharing
ReplyDeleteSee my blog also
Wire Harness Manufacturers